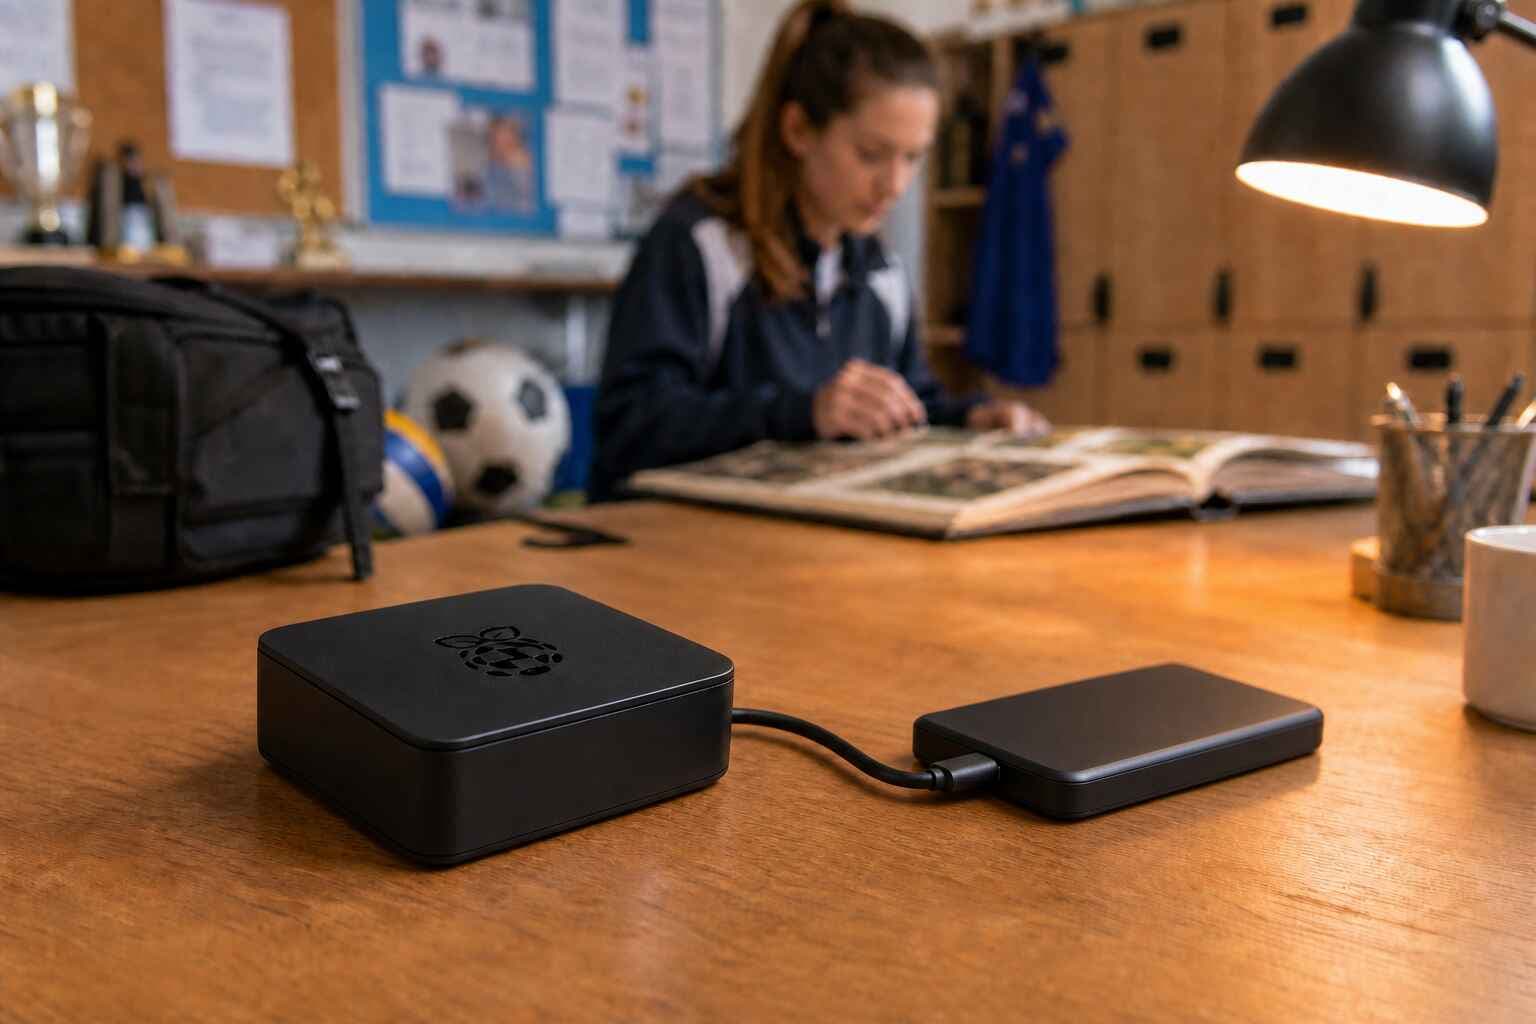
Suppose your club runs an event every Saturday. Guests add photos to Partoska, but nobody remembers to export them before the next event takes over everyone's attention. A Raspberry Pi photo backup can fix that quietly: leave the Pi beside an external SSD, run one command every night and let it collect new photos while you sleep.
The finished setup has a simple division of labour. Partoska collects photos from guests through a QR code. The Raspberry Pi keeps a local copy on storage you control. Once a file has reached the external drive, a later deletion from Partoska does not remove that local copy.
This guide starts with a blank microSD card. It covers Raspberry Pi OS installation on Windows, macOS and Linux, prepares an external drive, installs p6a, completes OAuth login and creates a daily cron job.
What You Need?
Use a Raspberry Pi that supports a 64-bit operating system. A Pi 3, Pi 4, Pi 5 or Zero 2 W has enough computing power for this job; an older 32-bit model cannot run the current official ARM64 build of p6a.
You will also need:
- A microSD card. Raspberry Pi recommends at least 16 GB for Raspberry Pi OS Lite, although a 32 GB card leaves more room for logs and system updates.
- A suitable power supply for the Pi.
- An external SSD, hard disk or USB flash drive large enough for the archive.
- A microSD card reader for the computer that will prepare the card.
- Ethernet or Wi-Fi access.
An SSD is the least troublesome external drive. Some portable hard disks draw more power than a Raspberry Pi USB port can reliably provide; if a disk disconnects under load, use a powered USB hub or a drive with its own supply.
Write Raspberry Pi OS to the microSD Card
The old name "Raspbian" still turns up in tutorials, but the current operating system is called Raspberry Pi OS. Use Raspberry Pi Imager rather than formatting the card by hand. Imager erases the selected device, writes the partitions and verifies the result in the same workflow.
Install Raspberry Pi Imager on the computer with your card reader:
- On Windows, download the Windows installer from the Raspberry Pi software page and run it.
- On macOS, download the macOS installer and open it in the usual way.
- On Linux, download the official x86_64 build. Debian and Ubuntu users can also install it with
sudo apt install rpi-imagerwhen their distribution provides the package.
The Imager screens are the same on all three systems:
- Select your Raspberry Pi model.
- Choose Raspberry Pi OS Lite (64-bit). A desktop environment adds nothing to a box that will live beside a disk and run over SSH.
- Select the microSD card as the storage device.
- Open OS customisation before writing the image.
Set a hostname such as partoska-backup, create a username and password, configure Wi-Fi if you are not using Ethernet, and choose the correct time zone. Under Services, enable SSH. Public-key authentication is preferable if you already use SSH keys; password authentication is fine for the first setup on a trusted home network.
Check the storage selection once more before pressing Write. Imager will erase it. Disconnecting unrelated USB disks first is a cheap way to avoid choosing the wrong one.
Let Imager finish its verification, eject the card, insert it into the Raspberry Pi and connect the external drive. Power up the Pi and give it a minute or two to join the network.
Connect Over SSH and Update the Pi
From Terminal on macOS or Linux, or from PowerShell on Windows, connect with the username you created in Imager:
ssh your-user@partoska-backup.local
If the .local address does not resolve, find the Pi's IP address in your router and use that instead:
ssh your-user@192.168.1.50
Update Raspberry Pi OS before installing anything else:
sudo apt update
sudo apt full-upgrade -y
sudo reboot
Reconnect after the reboot, then confirm that the operating system is 64-bit:
uname -m
The expected result is aarch64. If it says armv7l, the Pi is running a 32-bit image; rewrite the card with Raspberry Pi OS Lite (64-bit) before continuing.
Prepare the External Drive
A reliable Raspberry Pi external drive backup starts with a fixed mount point. Plug in the drive and list the available storage devices:
lsblk -o NAME,SIZE,FSTYPE,LABEL,UUID,MOUNTPOINTS,MODEL
Use the size, model and label to identify the external partition. The examples below use /dev/sda1, but your Pi may call it /dev/sdb1 or something else. The microSD usually appears as /dev/mmcblk0; do not format it.
If the external drive already contains files you want, skip the formatting command. Copy those files somewhere safe before changing its filesystem.
For a disk that will stay attached to the Pi, ext4 is the sensible choice:
sudo mkfs.ext4 -L PARTOSKA /dev/sda1
That command erases the selected partition. Check lsblk again before running it. If you intend to unplug the drive and read it directly on Windows or macOS, format it as exFAT instead:
sudo apt install -y exfatprogs
sudo mkfs.exfat -n PARTOSKA /dev/sda1
The exFAT formatting command also erases the partition.
Create a fixed mount point and find the partition's UUID:
sudo mkdir -p /mnt/partoska
sudo blkid /dev/sda1
Back up the filesystem table before editing it:
sudo cp /etc/fstab /etc/fstab.before-partoska
sudo nano /etc/fstab
Add one line at the end, replacing the example UUID with the value printed by blkid:
UUID=12345678-1234-1234-1234-123456789abc /mnt/partoska ext4 defaults,nofail,x-systemd.device-timeout=10 0 2
For exFAT, change the filesystem type to exfat and set uid and gid to the numbers printed by id -u and id -g (usually 1000 for the first user):
UUID=1234-ABCD /mnt/partoska exfat defaults,nofail,x-systemd.device-timeout=10,uid=1000,gid=1000,umask=0022 0 0
In Nano, press Ctrl+O to save, then press Enter to confirm the filename. Press Ctrl+X to close the editor. Nano displays these shortcuts as ^O and ^X; the caret means the Ctrl key.
Mount everything declared in the file and confirm that the expected device is present:
sudo mount -a
findmnt /mnt/partoska
A successful findmnt check looks similar to this:
TARGET          SOURCE    FSTYPE OPTIONS
/mnt/partoska  /dev/sda1 ext4   rw,relatime
TARGET must be /mnt/partoska, while SOURCE should name the external partition identified earlier. Do not continue if findmnt prints nothing or names the microSD system partition. Fix the UUID or filesystem type first.
Create the photo directory and give your normal account permission to use it:
sudo mkdir -p /mnt/partoska/events
sudo chown "$USER":"$USER" /mnt/partoska/events
touch /mnt/partoska/events/.write-test
unlink /mnt/partoska/events/.write-test
Skip the chown command on exFAT; its uid and gid mount options provide the ownership instead.
The remaining installation and cron examples work with either filesystem once it is mounted at /mnt/partoska. Raspberry Pi's external-storage documentation covers further options for exFAT and NTFS drives.
Install p6a
p6a is Partoska's open-source command-line tool. The current release provides an ARM64 Linux binary, so p6a on Raspberry Pi works without compiling it yourself. Pick one installation method; you do not need all three.
Option A: Download the ARM64 binary with wget
This is the leanest route on a dedicated backup Pi because it does not install Node.js or another package manager. The version below was current when this article was published; check the p6a releases page for a newer number.
sudo apt install -y wget ca-certificates

P6A_VERSION="1.11.5"
wget "https://github.com/partoska/p6a-cmd/releases/download/v${P6A_VERSION}/p6a_${P6A_VERSION}_linux_arm64" -O p6a
sudo install -m 0755 p6a /usr/local/bin/p6a
p6a version
Option B: Install through npm
Raspberry Pi OS does not necessarily include npm. Install Node.js and npm first, then install the platform-specific p6a package:
sudo apt update
sudo apt install -y nodejs npm
sudo npm install -g @partoska/p6a
p6a version
Option C: Use Homebrew on Linux
Homebrew supports ARM64 Linux, and the Partoska formula selects the correct Raspberry Pi binary. If Homebrew is already on the Pi, installation takes one command:
brew install partoska/tap/p6a
p6a version
For the commands above, p6a version should print p6a v1.11.5, or a newer version if one has since been released. An Exec format error usually means that the Pi is running a 32-bit operating system or that the wrong binary was downloaded.
Installing Homebrew only for p6a is unnecessary work. It needs build tools and its own directory tree, while the direct binary does the same job. Homebrew remains a good choice when you already use it to manage other software on the Pi.
Whichever route you chose, record the exact binary path. The cron script will need it later:
command -v p6a
The direct download normally prints /usr/local/bin/p6a. Homebrew on Linux normally prints a path below /home/linuxbrew/.linuxbrew/bin.
Log In Through OAuth
Run login as your normal account, without sudo:
p6a login
The command prints an authorization URL. Open it in a browser, normally on the computer from which you connected over SSH, then sign in to Partoska and approve access. At the end of the OAuth2 authorization-code flow, the browser shows a code; copy it to the clipboard and paste it into the waiting p6a prompt. The browser does not need to run on the Raspberry Pi.
p6a saves the credentials under your user account, in ~/.p6a by default. The cron job must run as this same user. Logging in with sudo p6a login would store credentials for root instead and leave the normal user's job unable to authenticate.
Check the connection:
p6a list
You should see the Partoska events available to your account.
Run the First Backup by Hand
Before trusting an automatic photo backup on Raspberry Pi, prove that the complete path works:
mountpoint -q /mnt/partoska && echo "External drive mounted"
p6a sync -t /mnt/partoska/events --owner-only
find /mnt/partoska/events -maxdepth 2 -type f | head
df -h /mnt/partoska
The first command should print:
External drive mounted
If it prints nothing, stop. The external drive is not mounted at the expected path. The sync command should finish without an authentication, network or filesystem error; its exact output depends on how many events and new files it finds.
The find command then prints up to ten downloaded file paths. A real result will look similar to this:
/mnt/partoska/events/2026-07-18 Summer Match/.event.p6a.ini
/mnt/partoska/events/2026-07-18 Summer Match/IMG_0001.jpg
/mnt/partoska/events/2026-07-18 Summer Match/IMG_0002.jpg
/mnt/partoska/events/2026-07-18 Summer Match/MOV_0001.mp4
p6a creates one folder per event using the format YYYY-MM-DD Event Name. Images receive names such as IMG_0001.jpg, while videos use MOV_0001.mp4. The hidden .event.p6a.ini file records which Partoska event and media IDs belong to the folder; leave it in place. head limits the display to ten paths, so this command is a quick inspection rather than a file count.
Finally, df should report the external partition mounted at /mnt/partoska. The capacities will differ, but the last column and filesystem are what matter:
Filesystem      Size  Used Avail Use% Mounted on
/dev/sda1       916G   18G  852G   3% /mnt/partoska
Size, Used and Avail show the drive's total, occupied and remaining space. The filesystem should match the external partition you identified with lsblk, such as /dev/sda1. If this command shows /dev/mmcblk0p2, /dev/root or another microSD system partition, stop: the USB drive is not mounted and the photos would land on the Raspberry Pi's system card.
Run the sync command a second time after these checks. It should skip files already recorded locally and fetch only new ones.
Choose Which Events to Sync
The main command accepts two event filters:
# Every event the account can access
p6a sync -t /mnt/partoska/events

# Only events created by this account
p6a sync -t /mnt/partoska/events --owner-only

# Only events marked as favourites
p6a sync -t /mnt/partoska/events --favorite-only

# Events that are both owned and marked as favourites
p6a sync -t /mnt/partoska/events -o -f
The short -f option means favourite events. It does not mean favourite photos inside an event. For a Raspberry Pi owned by a club or venue, --owner-only is a sensible default because it avoids archiving unrelated events that someone joined as a guest.
Put the Backup Behind a Guard
A plain cron line calling p6a sync has an ugly failure mode. If the external drive is absent but /mnt/partoska still exists as an ordinary directory, Linux can write the downloads to the microSD card. Enough video files will fill it.
Use a small script that refuses to run unless the external disk is mounted. Create a personal bin directory:
mkdir -p "$HOME/bin"
nano "$HOME/bin/partoska-backup.sh"
Paste this script, adjusting P6A_BIN to the path returned by command -v p6a:
#!/usr/bin/env bash
set -euo pipefail

P6A_BIN="/usr/local/bin/p6a"
MOUNT_POINT="/mnt/partoska"
TARGET="${MOUNT_POINT}/events"

if ! /usr/bin/mountpoint -q "$MOUNT_POINT"; then
  echo "External drive is not mounted at $MOUNT_POINT" >&2
  exit 1
fi

if [[ ! -x "$P6A_BIN" ]]; then
  echo "p6a is not executable at $P6A_BIN" >&2
  exit 1
fi

mkdir -p "$TARGET"
"$P6A_BIN" sync -t "$TARGET" --owner-only
Save and close the editor.
Make it executable and run it yourself once:
chmod 700 "$HOME/bin/partoska-backup.sh"
"$HOME/bin/partoska-backup.sh"
Permission 700 means that only the file owner can read, change or run the script. If a trusted Linux group should also be able to read and run it, use chmod 750 instead: the owner gets read, write and execute permission, the group gets read and execute permission, and everybody else gets no access.
Do not schedule a script that fails this manual test.
Schedule the Daily Cron Job
The Raspberry Pi cron backup can now call the guarded script. Ensure the cron service exists and starts at boot:
sudo apt install -y cron
sudo systemctl enable --now cron
Open your user crontab:
crontab -e
Add this line to run the backup every day at 03:15 in the Pi's configured time zone:
15 3 * * * "$HOME/bin/partoska-backup.sh" >> "$HOME/partoska-backup.log" 2>&1
Save and close the editor, then confirm that cron accepted the entry:
crontab -l
The command should print the saved schedule:
15 3 * * * "$HOME/bin/partoska-backup.sh" >> "$HOME/partoska-backup.log" 2>&1
After the first scheduled run, inspect the log and the drive:
tail -n 50 "$HOME/partoska-backup.log"
findmnt /mnt/partoska
df -h /mnt/partoska
Cron does not retry at 03:16 if the Pi was switched off at 03:15. That is harmless here; the next successful sync fetches files it has not downloaded yet. Run the script manually after a long outage if you do not want to wait until the following night.
What Happens When a Photo Is Deleted From Partoska?
p6a sync is a one-way, additive download rather than an exact mirror. It downloads missing online files and skips files already present on the external drive. It does not remove a local photo merely because that photo, or its whole event, no longer appears online.
That distinction matters. Once the nightly job has downloaded a photo, deleting it from Partoska leaves the Raspberry Pi copy alone. A photo deleted before the first successful sync cannot be recovered by p6a, so keep the Pi running during the event's retention window.
Event renames are different from deletions. If an online event receives a new name, p6a can rename its local event folder while keeping the downloaded media inside it.
An external disk beside a Raspberry Pi is still one disk, and disks fail. For photos that cannot be replaced, copy the archive to another drive or an off-site destination as well.
Partoska Still Does the Guest-Facing Work
Nothing in this setup changes how people contribute. Guests scan the event QR code and upload through their browser; they do not see the Raspberry Pi, p6a or cron. The Pi only handles the organiser's archive after files reach Partoska.
The web app also remains available for creating events, moderation and browsing. This Partoska backup workflow is useful when local copies should happen repeatedly without another reminder. If you also want to create events, generate QR codes or work with an AI assistant from the terminal, read the related Partoska CLI and AI guide.
Small events can test the whole setup on the free plan; storage and retention limits vary by plan.
Then, confirm the manual sync, then let the Pi take the night shift.
FAQ
Which Raspberry Pi should I use for a Partoska photo backup?
Use a model that can run 64-bit Raspberry Pi OS, such as a Pi 3, Pi 4, Pi 5 or Zero 2 W. The current Raspberry Pi release of p6a targets ARM64. A Pi 4 or Pi 5 with an external SSD offers the least troublesome setup, but photo syncing does not require much CPU power.
Does the Raspberry Pi need to stay on all day?
No. It needs power, network access and the external drive at the scheduled backup time. Leaving it on is simpler and uses little electricity. If it misses a run, the next sync downloads files that are not already local.
What does p6a sync -f download?
It downloads events you have marked as favourites. It does not restrict the download to favourite photos within those events. Combine -f with -o if you want events that are both yours and favourited.
Will cron fill the microSD card if the USB drive disconnects?
The script in this guide checks mountpoint before starting. If the external disk is missing, it exits with an error and writes nothing. Do not remove that check.
Do deleted Partoska photos remain on the Raspberry Pi?
Yes, provided p6a downloaded them before they were deleted online. Sync does not reconcile remote deletions by removing local files. If a photo disappeared before the Pi copied it, the local archive never received it.
Can I connect the archive drive directly to Windows or macOS?
Use exFAT if regular direct access from all three operating systems matters. Use ext4 when the disk will stay on the Pi; access the files over SSH, SFTP or a network share instead.
Can I still use the Partoska web app?
Yes. Create and moderate events in the web app whenever that is more convenient. p6a uses the same account and events, then adds terminal access and scheduled local downloads.