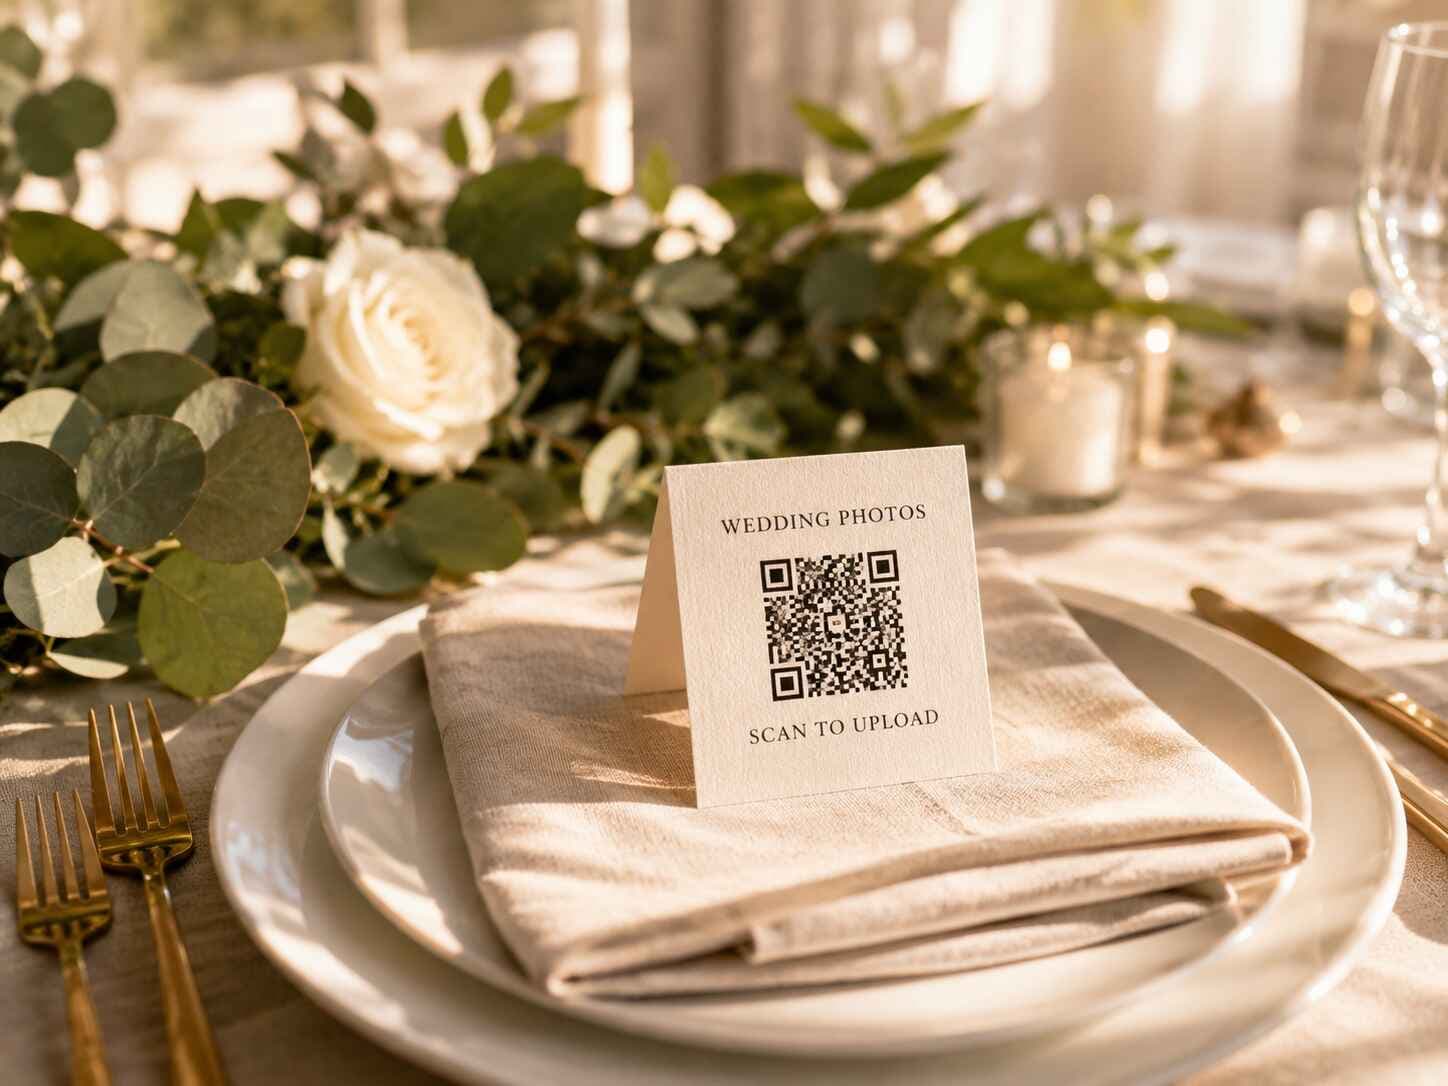
Three weeks before the wedding, someone in the group chat writes: "we should do one of those QR code things so we get everyone's photos." Three thumbs-up emoji, then nothing for nineteen days. At 23:40 on the Thursday before the ceremony, the maid of honour is googling how to set up wedding photo sharing from bed, with a half-finished seating chart open on the laptop beside her.
That still works, mostly. Learning it the night before is also how you end up with a wedding photo QR code taped to the wrong door and forty photos instead of four hundred.
This is not a difficult thing to do. Nobody needs to understand servers, install anything, or be the family IT person. Setting the thing up takes about five minutes. What needs the rest of the two hours, spread over two evenings, is everything around it: agreeing the details with the couple, one rehearsal you throw away afterwards, and printing the cards.
The Prep Is Boring and That's the Point
Somebody's mum scans the code, hits a screen she wasn't expecting, decides she's broken something, and quietly puts her phone back in her handbag. Or the upload window was set to open at midnight because that's what the date picker did on its own, so nothing from the ceremony was ever collected.
Do the rehearsal on a free event. Break it there, not in front of a hundred and twenty guests.
Worth saying before anything else — none of this replaces a photographer. A good one catches far more than the ceremony and the posed portraits, and will come back with shots nobody holding a phone is going to match. What they can't do is stand in two rooms at once. While the family groups are being taken in the garden, something is happening at the bar, and that's the narrow gap guest photos fill: not the rest of the wedding, just the corners nobody was covering at that particular moment. We argued that case properly in do QR codes for wedding photos actually work, so this piece assumes you've already decided yes and just want it set up without drama.
Step 1: Build a Fake Wedding First
Open Partoska and sign in with your email. There's no password to invent; they send you a short code and you type it in. Two minutes, tops.
Then create an event. The form is shorter than you'd expect: a name, and a tick to say you've read the terms. The dates come afterwards, in the event's admin section. Call it something obviously disposable, like "Photo test - do not use", so nobody later confuses it with the real thing.
Pick the free Starter package. It gives you 25 MB of space and keeps the event alive for 7 days, which is roughly ten phone photos and one week of poking at it. That is probably not enough for an actual wedding, and exactly right for a rehearsal. Nothing to pay, nothing to cancel, and it disappears on its own.
You now have a live event with a QR code, an invitation link, and a short numeric code that all do the same job.
Step 2: Now Try To Break It
This is the part everyone skips, and it's the whole reason for the free event.
Open the event on your laptop, put the QR code on screen, and scan it with your own phone as if you were a guest. Upload a photo. Then hand your phone to somebody who is not good with technology, ideally someone over sixty who owns a phone they didn't choose themselves, and ask them to do it without help. Watch where they hesitate. The whole thing takes four minutes.
Try it on an iPhone and on an Android. Try it with the phone's camera app rather than a QR reader. Send the link to one friend by message and check it opens somewhere sensible. If your venue has famously bad signal, walk into the actual room and see whether the page loads at all, because a beautiful card in a stone cellar with no bars is a decoration, not an upload path.
If wedding guest photo upload works for your least technical relative, it'll work for the other hundred and nineteen people.
Show the Couple, Don't Ask Them
If you're organising this on behalf of the bride and groom, do not send them a link to a pricing page and a question. They are currently deciding between two shades of the same napkin and they have no capacity left for a new decision.
Send them the rehearsal event instead. One message: here's the code, scan it, upload a photo of your lunch. They scan, it works, their lunch appears in a gallery, and the conversation is finished in half a minute.
That rehearsal event is also where you settle the awkward question early: do they mind guests seeing each other's photos? Some couples love it and some absolutely do not, and it's a five-minute conversation in August rather than an argument in the car on the way to the venue.
Step 3: Build the Real One
Delete nothing, just leave the test event to expire quietly. Create a second event with the real name, the real date, and a package that fits an actual wedding. Then walk through the settings in the event admin section, because these four decide almost everything about how the day goes.
Uploads Start and Uploads End
The two dates on the event are an upload window, not the life of the gallery. Guests can't add anything before the start time, and after the end time uploading closes while everything already collected stays viewable and downloadable.
Open the window earlier than you think. The morning of the wedding produces some of the best photographs anyone takes: the getting-ready chaos, the grandmother crying at a dress, the best man ironing a shirt badly at 09:00. Start it at breakfast, not at the ceremony.
Close it later than you think, too. Give it two or three days after the wedding, because a lot of guests only remember their camera roll on Sunday afternoon while lying on a sofa regretting the last three drinks. As the organiser, you can upload whenever you like; the window only applies to guests.
Public or Private?
This is the setting people worry about most, so here's exactly what each one does.
Public means anyone holding the QR code or the link is in straight away. They can upload and view photos without an account and without asking anyone's permission. The trade is simple: you're trusting the code itself, so it belongs on the tables and not on Instagram.
Private means every person who scans has to sign in and then request access, and you approve them one at a time in Guest Management before they can upload, view, or download anything.
A question we get a lot, and the answer surprises some people: approval is a single door, not three. Anyone allowed to upload can also browse the whole gallery and download from it, in both public and private events. There's no drop-off mode where guests post photos into a box they can't see inside. If that matters for your wedding, decide it now rather than assuming there's a switch for it. Moderation gets you a good part of the way: with it on, nothing reaches the other guests until you or a moderator approves it, so you decide photo by photo what the gallery shows. What it won't do is let somebody contribute without being able to browse whatever has already been approved.
For a wedding, choose public. I know that sounds like the reckless option, but think about what private actually means on the day. The requests queue up quietly while the first dance is happening, and the only way to clear them is to remember, in the middle of your own wedding, to open the admin section and look. Meanwhile the guest standing eight metres away is holding a phone that says they're waiting for approval, and a hundred and twenty guests means a hundred and twenty of those little decisions, all of them landing on the one person who should be dancing. The card is only in the room, the room is full of people you invited, and the failure mode of public is a friend-of-a-friend seeing your dance floor photos. The failure mode of private is no photos at all, because eleven people gave up at the sign-in screen.
Private earns its place at events where the guest list is the point: corporate offsites, anything with contracts or minors in the frame, a wedding where someone genuinely should not have access. If that's you, use it, and put a second person in charge of approving requests.
One useful detail: you can switch. If a public or private wedding gallery turns out to be the wrong call, flipping the event to private later cuts off the guests who joined anonymously.
Moderation, and the Moderator You Should Appoint
Moderation is a separate switch, and it works identically whether the event is public or private.
Leave it off and photos appear in the gallery the moment they land. Turn it on and every upload stays hidden until you or a moderator approves it, though guests still see their own photos so nobody thinks the upload failed.
Most weddings are fine without it. The guests are people you chose. If you do want moderation, the important half of the feature is the second one: you can promote a guest to moderator, and they can approve or delete uploads without you. Give it to a cousin who likes their phone and dislikes dancing. Do not give it to the couple, who will be busy, and do not keep it for yourself, because you are also busy. One catch to plan around: only guests who signed in show up in the list you promote from. Anyone who joined anonymously — on a public event, most people — cannot be promoted, so ask your cousin to sign in when they join.
That's the honest version of wedding photo moderation: it's a queue, and a queue needs somebody watching it. If nobody is watching, your guests upload into a void all evening and see an empty gallery, which is a fast way to make them stop.
Set a Quota So One Uncle Doesn't Eat the Album
The event has a shared pot of space. A quota caps how much any single guest can take out of it.
Set it and every guest gets that much and no more; leave it at nothing and it's first come, first served until the space runs out. It applies per signed-in guest and also per anonymous device, so somebody can't dodge it by not logging in, and it never applies to you as the organiser.
This exists because of a specific type of guest. He shoots in burst mode. He has never deleted a photo in his life. He will, if permitted, upload sixty near-identical frames of the cake being cut and leave nothing for the people who took one genuinely good picture at midnight. A quota of a few hundred megabytes per guest is usually plenty, and the admin screen tells you roughly how many photos that works out to.
Step 4: QR Codes That Don't Look Like a Car Park
You want the code visible in the places where people already have their phones out, and invisible everywhere else. Nobody spent eighteen months choosing a venue so it could be wallpapered in black-and-white squares.
Partoska generates printable cards for the event with the QR code and the link already on them, and there are two layouts. The single-page A4 is a sign. The business-card layout puts ten small cards on one sheet with cut lines, and for a wedding, that one is the answer.
Where the small cards actually work:
- On the back of the place cards. Guests pick up their name card, turn it over, and the ask is right there at the exact moment they sit down and get their phone out. Best trick on this list by a distance.
- On the back of the menu or the order of service.
- One in a small stand per table, the same kind that holds table numbers.
- At the bar, where people wait and look at their phones anyway.
- Near the guest book, which is where the sentimental ones already are.
- Taped by the bathroom mirror. Mirror selfies get taken at every wedding whether anyone planned them or not, so a card on the glass turns them into a running theme instead of an accident. Some of the best photos of the night come out of there.
One A4 sign is fine at the entrance or by the gift table. That's it. Not on the arch, not in the church, not laminated. If a guest sees the code four times over the evening in places they were already looking, that's plenty; a fifth one starts to read as advertising at somebody's wedding, which is a strange thing to do to your friends.
Give the couple's parents a card each, printed the same way. That generation prefers being handed a thing to being told about a thing.
Predefined Cards, or Your Own?
The built-in card designs cover the obvious wedding directions. There's Romantic, Gold, Silver, Garden, and Forest, plus a handful of others aimed at parties and matches. You choose a design and a paper size, toggle the background on or off if your printer hates full-bleed colour, and download a PDF. Ten minutes, done, and honestly good enough for most weddings.
If the wedding has a real visual identity, do it properly instead. Whoever designed the invitations already owns the fonts, the colours, and the paper stock, and adding a small card to an existing print run is the cheapest good decision available. Ask them for it at the same time as the place cards.
There's a middle path, and it's the nerdy one. If you're the sort of person who already talks to an AI assistant most days, Partoska can be driven that way, and an assistant can design custom cards and QR stands from the event's own details. That workflow is covered in event photos via terminal and AI agent, and it is completely optional. For printing and placement of the ordinary QR code cards for wedding tables, there's a whole guide: printable QR code cards for event photos.
Don't Rely on the Cards Alone
The QR code, the invitation link, and the short numeric code are the same key cut three ways. They open the same event with the same permissions, so whichever one a guest uses, they land in the same place.
That matters because a printed card only reaches people who are in the room, looking down, at a moment when they're not mid-conversation. It never reaches the aunt who left at half nine, the friend who took the best photo of the evening and went home before the cards were noticed, or the two people who were invited and couldn't come but have photos from the rehearsal dinner.
So use the channel you're already using for this wedding. There's almost always a group chat by now, on WhatsApp or Messenger or Signal, and the invitations went out by email to people who don't use any of those, and the parents' generation will read an SMS and ignore everything else. Send the link through whatever each group actually reads.
Send it twice, and the second one matters more. Once a day or two before, so people arrive already knowing the thing exists. Then again on the morning after, when everybody is horizontal, hungover, and scrolling through a camera roll containing four hundred photos they have no plan for. That second message is where a lot of your gallery comes from, and it's also why the upload window should still be open.
One caveat, and it follows directly from choosing a public event: the link is the key. A group chat with your guest list in it is fine. A public Instagram story with the QR code visible in the corner of a photo is not, because anyone who can read that code is in. Keep it in the channels where the guest list already lives.
The One Button That Kills Every Card You Printed
In the event's Danger Zone there's an option to reset the invitation link. It does what it says: the current link stops working and a new one takes its place, permanently.
The QR code on your cards encodes that link. Reset it after printing, and every card you cut out and placed on ninety plates becomes a dead end that leads nowhere.
So: print after the settings are final, not before. There is one legitimate reason to reset, which is a link that escaped somewhere public, and if that happens before the day you reset it and reprint, which is annoying but survivable. Doing it two days before the wedding because you were curious what the button does is a different kind of afternoon. Resetting afterwards, once you've collected everything, is a tidy way to close the gallery off.
The Ways This Actually Falls Over
Guest photo collection fails in a few predictable ways, none of them technical, all of them cheap to prevent once you know they exist.
The venue eats the signal. Uploading needs data, and old stone buildings, cellars, barns, and half the good rural venues in Europe are hostile to mobile reception. Check it while you're standing in the actual room, put the wifi password on the same table as the cards, and keep the upload window open for a few days afterwards so people can finish from the sofa on Sunday. Most guests scan on the night and upload later anyway, so bad signal delays the photos rather than losing them.
Nobody ever mentions it. The cards are on the tables, printed beautifully, and completely invisible to people who are talking to someone they haven't seen in six years. Ask whoever holds a microphone that evening to say one sentence about it, once before dinner and once as the dancing starts. Fifteen seconds of announcement turns the cards from decoration into an instruction.
The card is technically present and practically unreadable. Printed too small, laminated to a shine that throws back every candle in the room, face-down under a side plate, or hidden behind a centrepiece the florist delivered at four o'clock. Print it at the size the template gives you, skip the lamination, and walk the room once after the tables are dressed to check the cards survived being set.
Everyone waits for someone else to go first. An empty gallery is a surprisingly effective way to stop people uploading, because nobody wants to be the first idiot. Fix it before the guests arrive: upload eight or ten photos yourself during the morning, the getting-ready shots and the empty decorated room. Guests scan, find something already there, and add to it instead of starting it.
Step 5: Get the Photos Out Before They Expire
The event has an expiration date that sits separately from the upload window. Uploads close first; the gallery stays up and browsable; then, on the expiration date, the photos stop being available. Buying an upgrade adds days at any point, including when you're near the end and not ready.
Take that date seriously, and not only ours. Every photo collection service, this one included, runs on a clock, and the only version of your wedding nobody can switch off is the copy sitting on your own disk. Treat the gallery as a delivery van, not a warehouse.
You won't be left to remember this on your own. Partoska emails you a reminder every day in the run-up to the expiration date, which is deliberately slightly annoying, because the alternative is worse. So, in the week after the wedding, while you still have the momentum:
Open the event, go to Export Content, and download the whole thing as a ZIP in full quality. If you'd rather skip the download, push them straight to Google Drive or OneDrive from the same screen. From there they go wherever your family photos live, whether that's a NAS in a cupboard, a hard drive in a drawer, or a folder your partner will reorganise in 2029.
Do it before our emails start, not because of them. Put your own reminder in the calendar for four days after the wedding, while the photos still feel urgent, because "later" is where wedding photos go to die and it's the most common way people lose a collection they spent a whole evening setting up. The couple can also mark favourites in the gallery, and you can export only those, which turns out to be a shortcut when you're picking photos for thank-you cards.
People treat the job of collecting wedding photos from guests as a technology problem, and it rarely is. The photos already exist, sitting on a hundred and twenty phones. The only questions that matter are whether anyone gave them somewhere obvious to go, and whether anyone moved them somewhere permanent afterwards. Same mess as stop chasing photos, higher stakes.
What Does This Cost?
The rehearsal costs nothing. Starter is free, comes with 25 MB and 7 days, and needs no card.
A real wedding needs more than ten photos' worth of space, so the actual event goes on a paid package, and upgrades can be bought at any time, including mid-event if the uploads come in heavier than you expected. Current numbers live on the pricing page, and what works across mixed phones and laptops is on the features page.
If you want the broader argument for whether any of this is worth doing at a wedding, that's a separate piece: do QR codes for wedding photos actually work.
Do the Rehearsal Tonight
It takes twenty minutes and costs nothing. Create the test event, scan your own code, upload a photo of whatever's in front of you, then hand your phone to somebody and watch them do it. If it works for them, you're finished with the hard part, and everything else on this page is just choosing dates and cutting up a sheet of paper.
One last thing. If you set this up for a wedding and something on the day surprised you, good or bad, tell us on the contact page. Weddings break software in creative ways, and we'd rather hear about it from you than guess.
FAQ
How far in advance should I set up wedding photo sharing?
Two to three weeks is comfortable. Run a free test event first, get the couple to try it, then create the real event and print the cards once the settings are final. The night before works, but you lose the rehearsal, which is the part that catches the problems.
Can I test a wedding photo app before the wedding without paying?
Yes. The free Starter package gives you 25 MB for 7 days, enough for about ten photos, which is plenty to check the whole flow on a few different phones. Create a separate throwaway event for it rather than testing on the real one.
Should my wedding photo gallery be public or private?
Public for most weddings. Anyone with the card can upload and view immediately with no account and no approvals, which is what you want when a hundred guests scan within the same hour. Choose private if the guest list genuinely needs controlling, and put somebody other than the couple in charge of approving each request.
Do guests need to install an app or make an account?
No. They scan the code, the page opens in their browser, and they upload. An account is needed to create an event, which is why you have one, and by any guest who wants to download the gallery as a ZIP or send it to cloud storage. Uploading and browsing need neither.
Where should I put the QR codes at a wedding?
On the back of the place cards first, then the bar, one small card per table, near the guest book, and one by the bathroom mirror for the selfies that happen anyway. One A4 sign at the entrance is enough. Small cards spread around beat a single large poster, and four sightings over an evening is plenty.
What happens if I reset the invitation link after printing?
Every printed QR code stops working, with no way to undo it. Reset the link only if it leaked somewhere public, or after the wedding when you want to close the gallery. Print your cards after the settings are final.
When do I need to download the photos?
Before the event's expiration date, which is separate from the date uploads close. Download the full-quality ZIP or export straight to Google Drive or OneDrive within a week of the wedding, and buy extra days if you need more time.
Does a QR code photo album replace the wedding photographer?
No, and it shouldn't try. A photographer handles the ceremony, the portraits, and everything that needs someone competent standing in the right place at the right second. Guest uploads add what was happening while the photographer was somewhere else: the tables, the smoking area, the corridor at half past midnight.
What if the venue has bad signal and guests can't upload?
Check reception in the actual room before the day, keep the wifi password next to the cards, and leave the upload window open for two or three days afterwards. Most guests scan on the night and upload from home anyway, so a weak signal delays the photos rather than losing them.
If I approve a guest, can they also see and download everyone else's photos?
Yes. Upload access and viewing access are the same permission, so anybody who can add photos can also browse the gallery and download from it. That holds for public and private events alike. Moderation covers a good part of the worry, because nothing reaches the other guests until you or a moderator approves it, so you stay in control of what the gallery actually shows. What it doesn't do is create an upload-only mode where guests contribute without seeing the rest (yet).
Can I send the upload link in a group chat instead of using the QR code?
Yes, and you should do both. The QR code, the link, and the event code all open the same event, so use the cards in the room and send the link through the wedding group chat, by email, or by SMS to whoever doesn't use chat apps. Send it again the morning after, which is when most people go through their camera roll. Keep it to channels your guest list is already in rather than posting it publicly.